Instead of having this installation process on every firebase tutorial I thought I would put it in one single place and link to it; that way if anything changes I can just change it in one place and y'all can bookmark just one single page etc. etc. So follow these instructions and then you can move forward to whichever tutorial you'd like at the end.
So these are the versions this tutorial has been tested with:
If you have different versions of any of these tools I can not guarantee this tutorial will work for you (but I hope to keep up with changes so this page is always kept up to date).
First we need to create a new project, paying close attention to the Organization Field (If you are using vscode you may skip this step, you can change this id later).
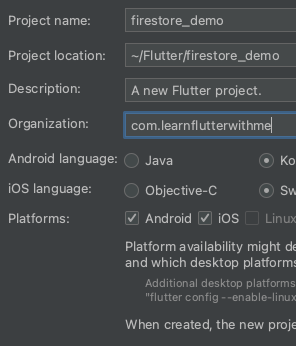
If you have a domain for your company, business or application, use that in the Organization field in reverse like so:
If you don't have a domain, I believe you can use your name as well. It just has to be unique. But if you are going to be doing a lot with software development you might go ahead and get a domain.
Finish creating the new app and we'll move on to the next step.
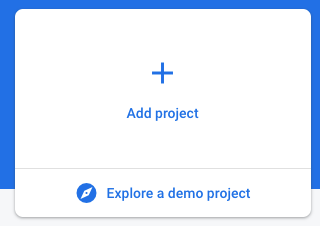 Now we will go to console.firebase.google.com. Click on Add Project. If you haven't created a project before it should say Create a Project.
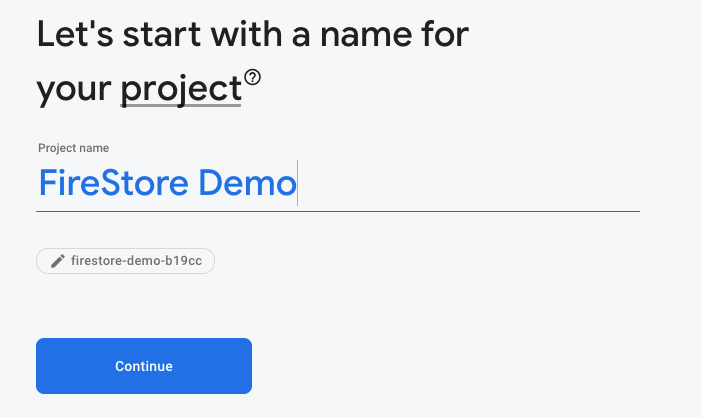 Enter the name of your project in the text Box and press Continue.
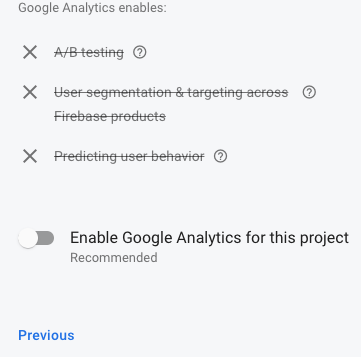
Since this is for a tutorial, I'm disabling Google Analytics.
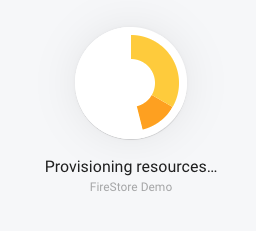 Wait for it to build your project.
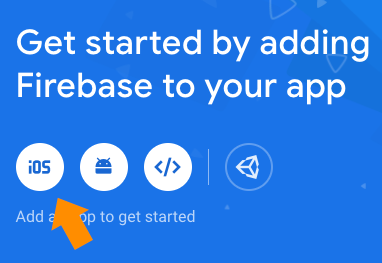
Once you are inside we will start with creating the iOS setup.
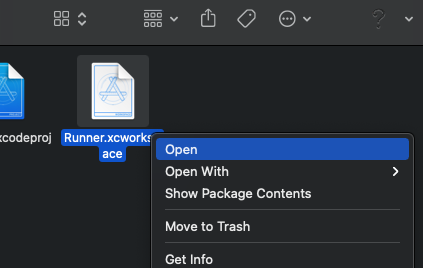
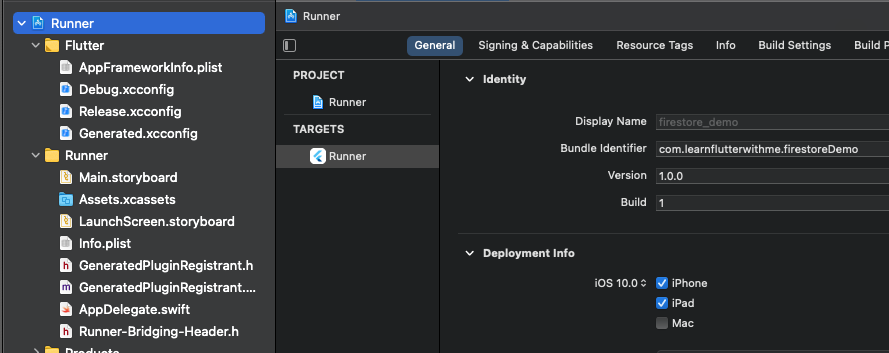
Now we will need to open up XCode to get your iOS bundle ID. The easiest way to do that is to go into your app and navigate to the ios folder. Right-mouse click on Runner.xcworkspace and click "Reveal in Finder".

Once you are in finder just open the Runner.xcworkspace document.
Once you are in there, double click on "Runner" and you will see the Bundle Identifier. If you came from vsCode this is possibly still set to "com.example.[app name]". If it is, change "example" to something unique, preferrably your domain name. Copy this ID. Also while you're in there change the iOS version under Deployment Info to at least 10.0. Don't close Xcode yet. We will need to do more with it in a bit.
Enter the Bundle Identifier in the Bundle ID field on the firebase.google web site. The optional fields you can leave blank for now.
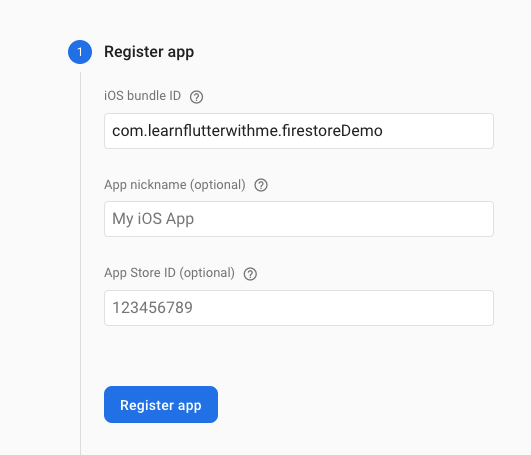
Next, download the configuration file. Make sure the file name does not change.

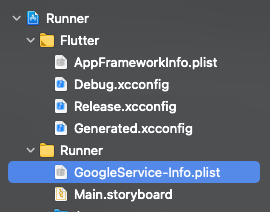
Now drag that file into Xcode in the Runner > Runner folder and add it to all targets (Make sure you do it through Xcode otherwise it may not work correctly). You can now close Xcode.
Next what we want to do is make sure CocoaPods is updated to the latest version. You can check the current version by doing this:
But to update CocoaPods you just need to run this:
NOTICE: M1 MAC USERS
unfortunately this process seems to be fickle on M1 Macs for now. If you get a pod error, go into your terminal and run this:
And then after you've ran that, you can use "pod install" and "pod install --repo-update" by adding "arch -x86_64" to the beginning of your command like this:
If you still have problems search for the error you're receiving and you should find a result for most issues.
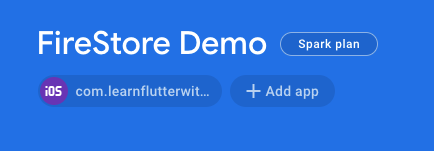
Next we will set up Firebase for Android by clicking Add app beside the iOS entry:
And selecting the Android icon:

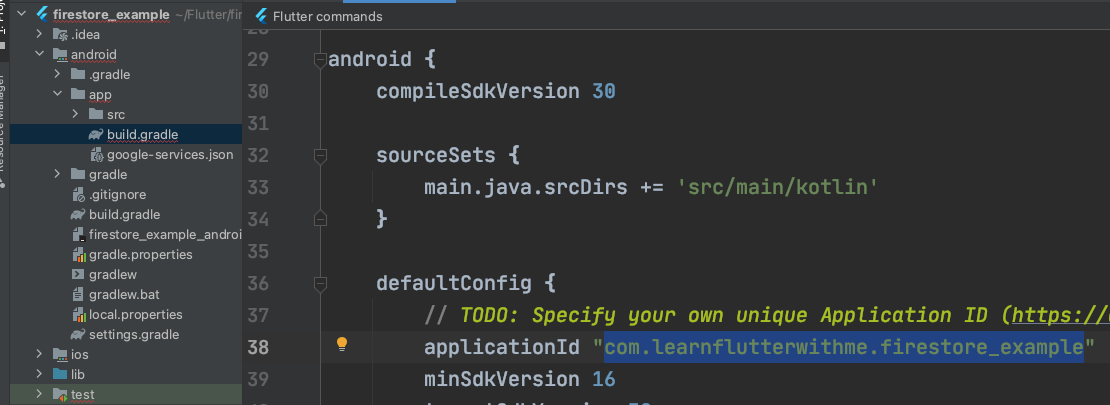
You will need the Android Package Name to continue setup. You can find that inside your app by going to android > app > build.gradle and looking for applicationId (again, if it has "com.example" there change "example" to something unique, preferrably your domain name):
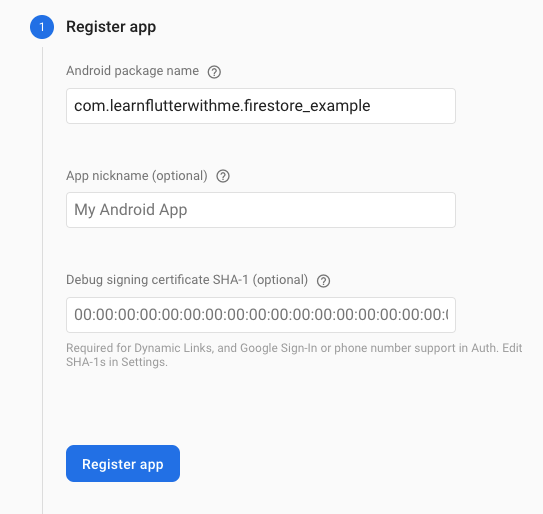
We will copy that and paste it into the first form field in the firebase form. The two optional fields we will leave blank, and we will click Register app.
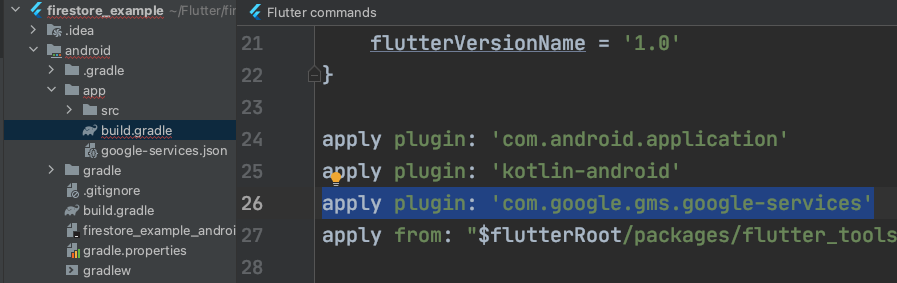
We are going to add a few more items to the Android part of our app real quick. While you are in android > app > build.gradle, find the section that looks similar to the picture and add the highlighted item:
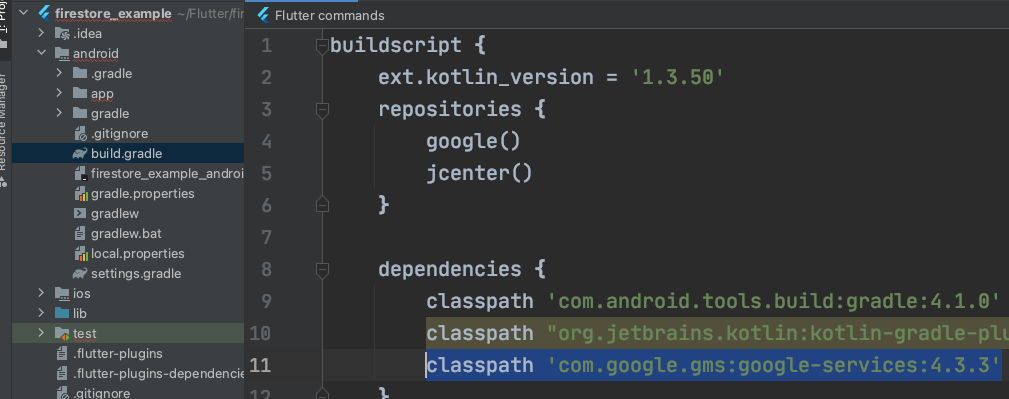
Then under android > build.gradle (same file name, just up one directory) Add the blue highlighted entry at this location:
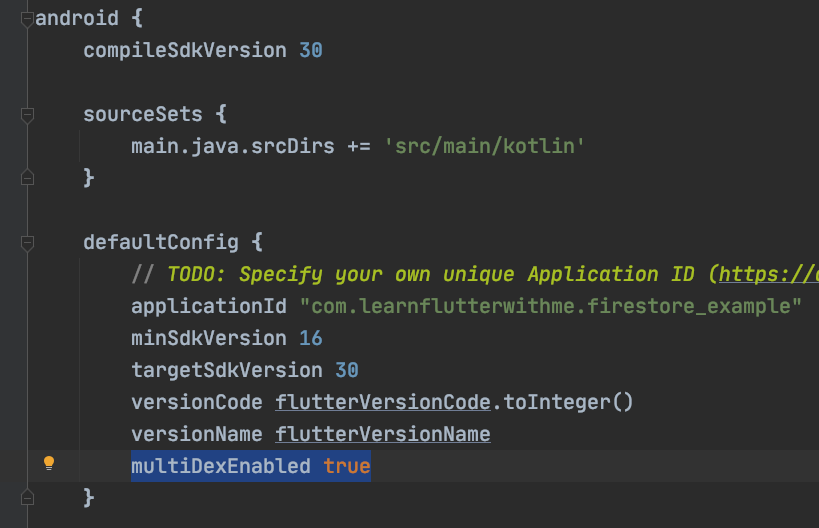
Now we will need to enable Multidex. So back to Android > App > build.gradle, go down to dependencies and add this line:

And then under defaultConfig close to the top add this line:
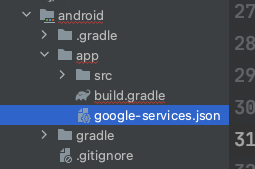
Now download the google-services.json. Make sure the file name stays the same if it's different (for example has (1) in it) it will not work.
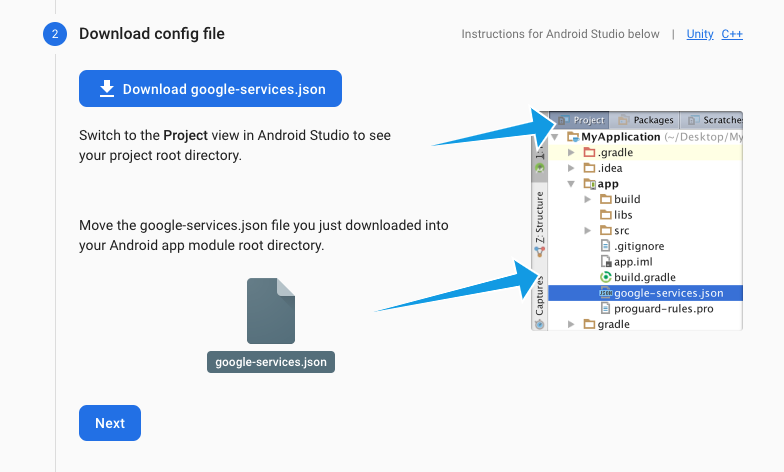
Copy that file into the android > app directory.
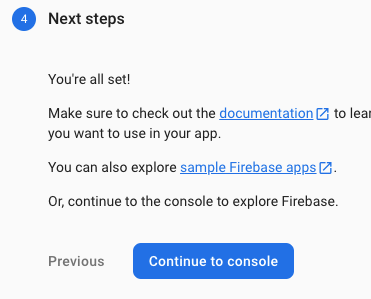
Skip everything else inside the firebase site and finish by clicking Continue to console.
You should see two entries at the top now, one for iOS and one for Android.

Ok that's it for initial Firebase setup. If you came from another tutorial you should be able to go back and you should start there where this ended.
Here are the links to the current tutorials relating to Firebase:
Click here for additional information and additional resources in case you need more info:
Very long content goes here