An introduction to Authentication in Flutter using Firebase_auth. We will make a simplified app that shows how to sign up, sign in and log out of Firebase using an e-mail address and password.
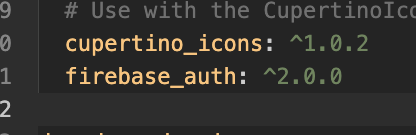
Here are the versions of the plugins we have tested this tutorial with:
If you are using any other version of these plugins this tutorial may not work for you (I'm going to try to keep this tutorial up to date however).
IMPORTANT STEP: The first thing you need to do is connect your Flutter app to the Firebase site. Click here for instructions on how to do that.
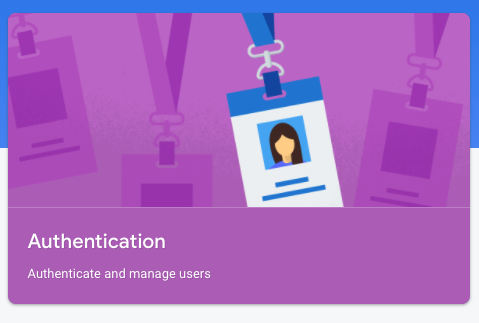
After you've done the initial setup at the link above you'll need to enable Authentication. You can do that by clicking the Authentication graphic on the firebase page for this project:
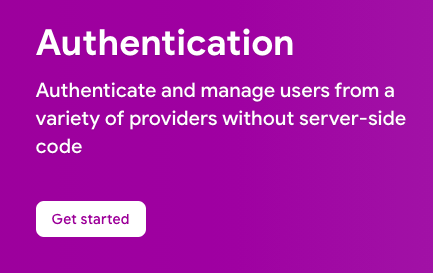
And then click Get Started
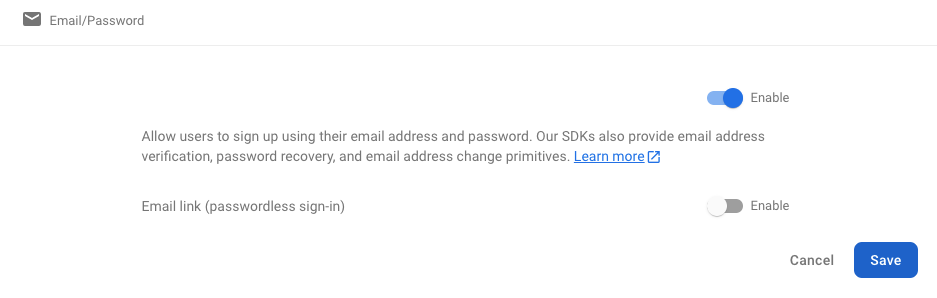
And then click the pencil next to email/password:

Now you can enable the top option. You can passwordless sign-in disabled. And hit save.
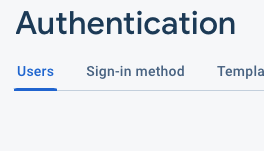
Switch over to the users section and minimize this page, because we will visit it again later.
We will start with our traditional tutorial boilerplate:
Now we will add two Text Fields to the body, one for e-mail address and one for password. We will start by adding the controllers:
And then two text fields connected to the controllers:
And now we will Add 3 buttons, one for Sign Up, one for Sign In and one for Log Out:
 And then we are going to put Space Around each of the buttons:
Now we are going to install Firebase_auth into the application
open up your terminal window and type this in:
Now you should be able to look in your pubspec.yaml file and see both installed.
Now we will import both of those at the top of the app:
And we need to initialize WidgetsFlutterBinding and Firebase in main:
And then we will go ahead and create a new user when you press the Sign Up Button:
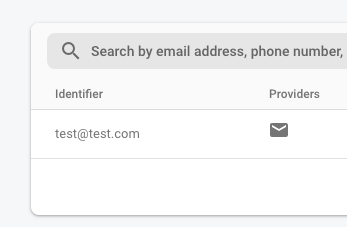 Now if you enter in an e-mail address and a password and press the Sign Up Button, you won't see any actual change in your app. BUT if you go to firebase you should see the new user.
So let's add a little indicator to let us know that the user is logged in. First we will add this inside the build widget in _AuthAppState:
We have User? (with a question mark) because user can be null if they aren't logged in.
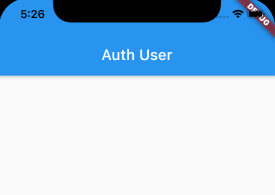
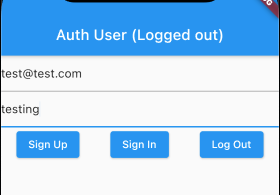
Now we will add this simple Ternary Operator to the AppBar to see if the User is logged in or not:

So this Ternary Operator (or a simplified if/then statement) says "out" if user is null, otherwise it says "in". And you should now see that the user is logged in.
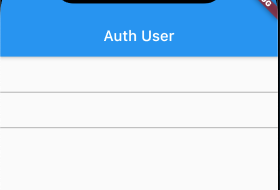
So now we will tie the log out process to the Log Out Buttons onPressed:
So this time when you run the App and press the Log Out Button, you should immediately see that the user is logged out.
One last button to set up, the Sign In Button:
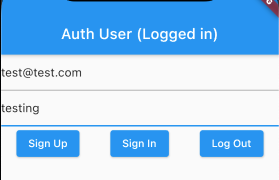
We press that, and we're logged back in.
So this of course doesn't have any form validation or error handling in it, we will dive into that in the next video!
Click here for additional resources regarding Firebase.
Very long content goes here