This tutorial walks you through setting up your Flutter Application for Firebase Cloud Firestore including support for both iOS and Android devices. We create a simple grocery app that stores grocery information into Firestore as well as adds and deletes grocery items from Firestore.
Here are the versions of the plugins we have tested this tutorial with:
If you are using any other version of these plugins this tutorial may not work for you (I'm going to try to keep this tutorial up to date however).
IMPORTANT STEP: The first thing you need to do is connect your Flutter app to the Firebase site. Click here for instructions on how to do that.
Now we will install Firebase inside the app. First we will bring up terminal and type Flutter Doctor to make sure we are using the version used in this tutorial:
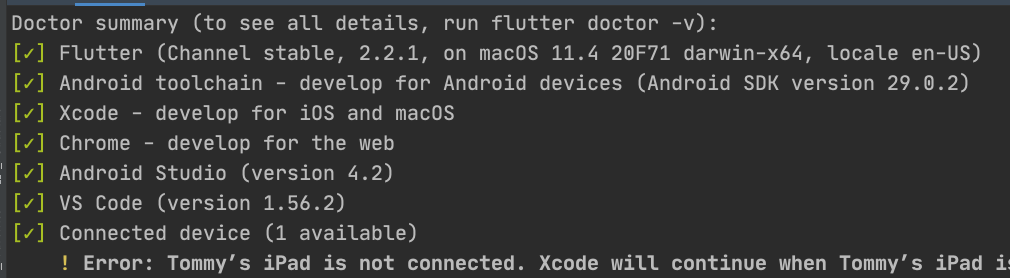
NOTICE: During the making of this tutorial Flutter version 2.2.2 came out. Everything appears to still work correctly.
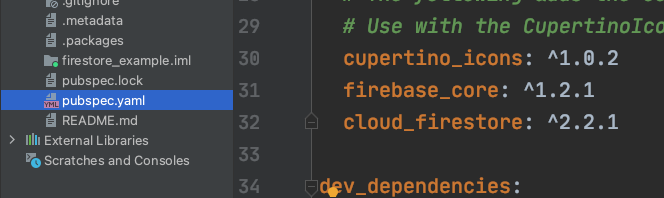
We will install Firebase Core:

When that's done add cloud_firestore:

Once you've done that you should see them both in your pubspec.yaml file:
So now we will start building the app. in our ListView tutorial we built a grocery app. The app listed groceries and allowed you to add groceries and remove groceries. The biggest problem with this app though was if you closed the app, everything disappeared. So we're going to build the same app but connect it to Cloud Firestore. We will start with our standard boilerplate:
DISCLAIMER: Our code is simplified to highlight the featured elements of these tutorials and should not be used as a reference to proper application layout or structure.
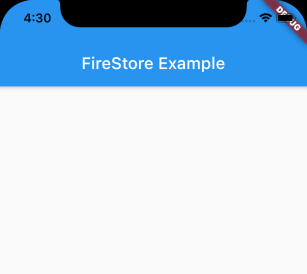
Now after adding Firebase to your Flutter app it can sometimes take longer than normal to show up on your emulator after running your code. Unless you have a major error, it should show up eventually.

And the picture to the right should be what you see so far.
Now to start adding Firebase to the project. We will add these two imports to the top:
And then we will add a few things in main to initialize FireBase:
We are going to take out the Text widget and add a TextField widget in the AppBar:
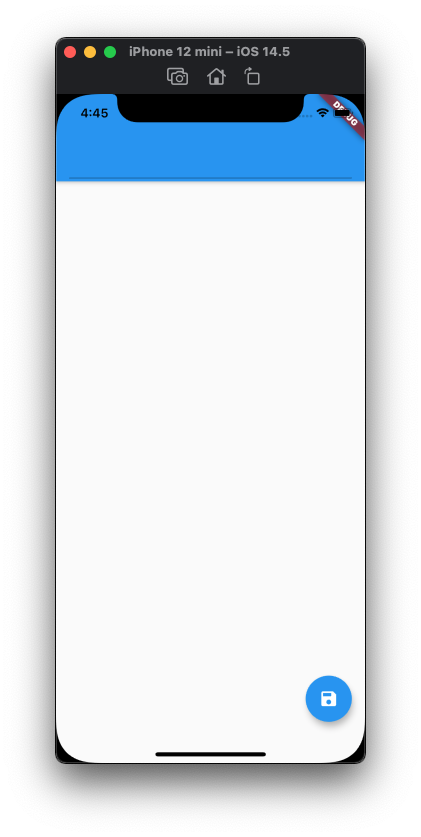
And then we will add a FloatingActionButton to the Scaffold, which we will use to save the groceries entered in the TextField to FireStore:
Now we will go back to firebase.google.com to set up a database. Click on Go to Console at the top right if you're not still there.
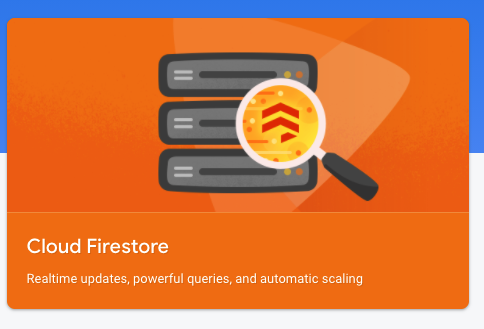
Click on Cloud Firestore:
Now click Create database

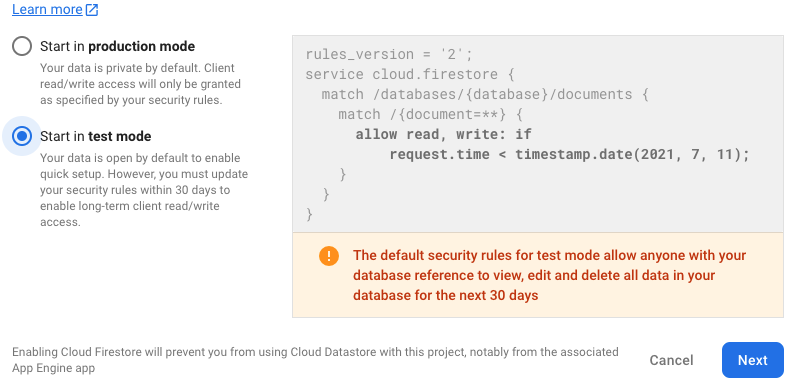
Since this is just a tutorial, we are going to Start in test mode. Select that and press Next.
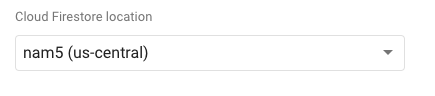
Select a Cloud Firestore location that is near you. Click Enable.
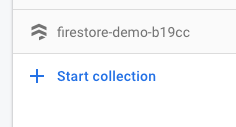
Now we will want to start a collection so click Start collection.
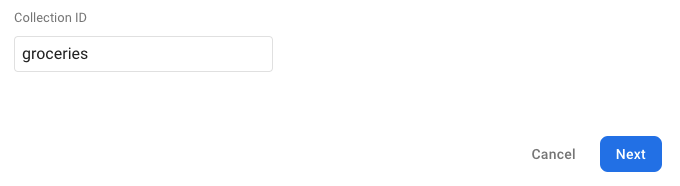
We are going to name our Collection ID groceries. Click Next.
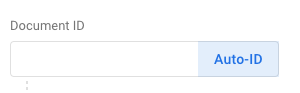
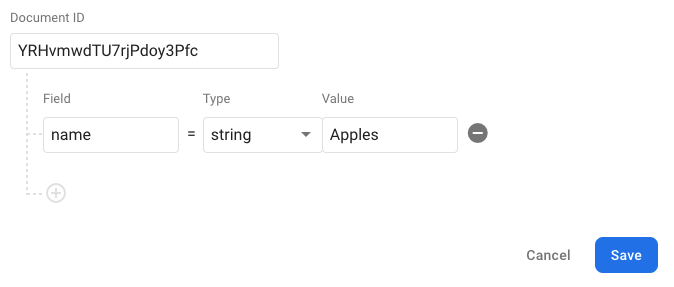
Click Auto-ID to generate a random Document ID
And then we will add a Name field with the value Apples. Press Save.
So inside the body of the Scaffold we are going to add a StreamBuilder to connect to Firebase:
You may have noticed the data!. Without the ! we receive an error that says "The property of 'docs' can't be unconditionally accessed because the receiver can be 'null'.". the ! is telling our app that we assure data will not be null.
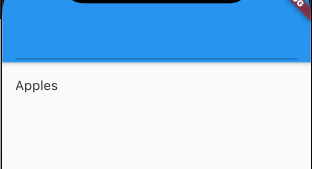
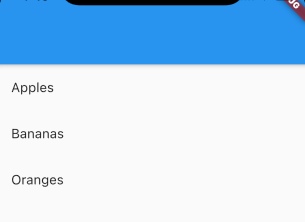
Run it and you should see your Apples listing in the emulator!
Now we will add the ability to add groceries to the Firebase collection. We will start by setting up a TextController for the TextField. First we will add this line:
Then we will connect that to the TextField:
Now we need to refactor our Firebase call just a little bit before we can continue. We are going to add this line inside the FireStoreAppState build:
And then we'll remove the code currently in the StreamBuilder stream and replace it with this:
Now we will insert the add call inside the FloatingActionButton's onPressed:
You'll notice the text field didn't clear out when we hit save, so we will clear it out:
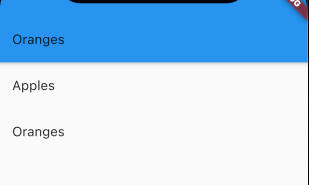
And then they're also not in alphabetical order so we'll sort the results
So now when we touch a grocery item and hold it, we want to remove the grocery item from Firebase. So in the ListTile we'll add this:
So if you've been working along with me you may have seen this error:

That is because we are telling the ListView that data will NOT be null with this line:
Remember the ! after data? But for a second while it's grabbing data it *is* null and that's why we are seeing the error. So we can fix that easily by adding this code:
Now if the snapshot doesn't have any data it will show this loading message instead!
So hopefully that was easy to understand, I'm going to include some information on how to correct a few errors I got as well as some additional resources in case you need additional assistance or information.
Click here for additional resources regarding Firebase.
Very long content goes here