

Add Local Database support to your Flutter App using SQlite with the Flutter plugin SQFlite. Using SQFlite I'll show you how to do full CRUD (Create, Read, Update, Delete) functions with SQLite in a simple bare bones app example.
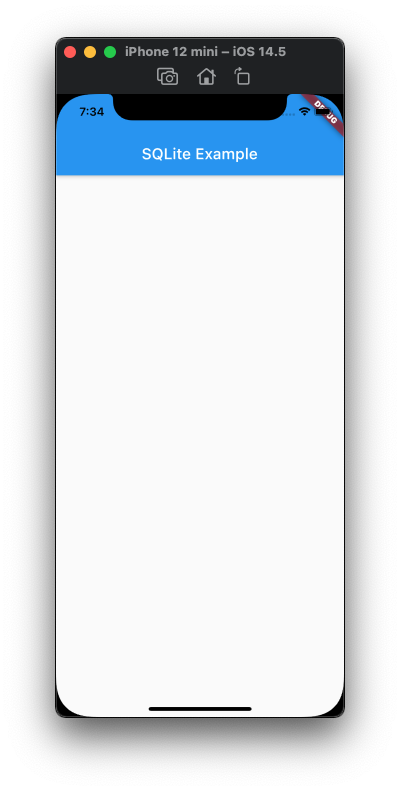
We will start by creating our default tutorial boilerplate:
Disclaimer: Our tutorial boilerplate is simplified to feature the elements we are highlighting in this video. It should not be used as a reference to proper application layout or structure.
Now in place of the text in the AppBar, we are going to put a TextField, and we are going to add a FloatingActionButton. We will wire the TextField to the FloatingActionButton and make sure it's working by printing to the console. So we will start by creating a TextEditingController called textController:
we will add a TextField to the AppBar and attach the textController to it:
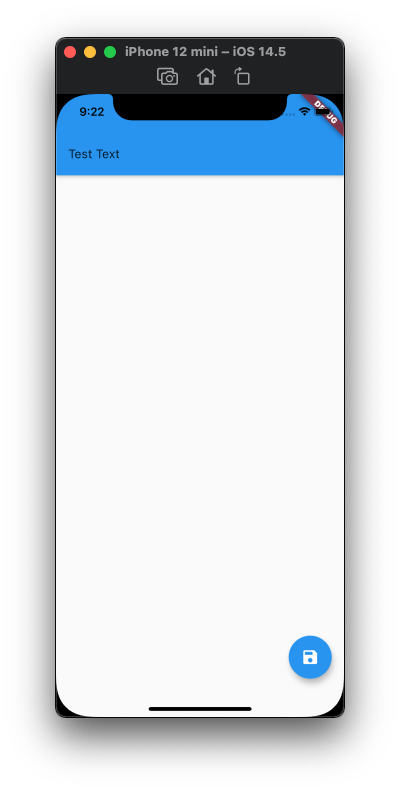
Now we will add a FloatingActionButton and when it is pressed we will just print the text from the TextField to the console:
And you see it prints to the console:

Now we will go ahead and install sqflite and start working on the sqlite element of our app. We will open up terminal and enter this:
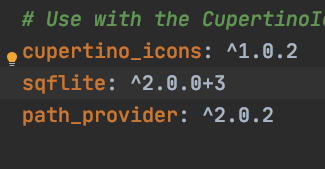 And we will add path_provider which is a plugin that helps you find commonly used locations on mobile filesystems:
Once they are installed you should see sqflite and path_provider installed in your pubspec.yaml file.
Now we are going to create the grocery model. We will put it on the very bottom below everything else:
We are simply using it to reference a Grocery item that has an id and a name. The id is marked with an int? for Null Safety, because it can be Null. I'll show you why a little bit later. then we have a method to take the id and name and convert it to a map, and also a way to convert it from a map.
Now we're going to create a DatabaseHelper class which will help with... you guessed it... our Database stuff! So let's create the class and let's make it a _privateConstructor which will create a singleton, or a class that only has one instance. We will put this at the very end after the Grocery model:
Now we will set up the variable that will hold the Database initialization. First we need to import sqflite into the file:
Now put this at the bottom of the DatabaseHelper class:
So what that does is... it sets up a variable called _database that could be null (Database?). If it IS null, it sets it using the _initDatabase method. If it is not however, it just uses itself. So that means it's expecting an _initDatabase method. Before we do that let's import a few things at the top:
ok now let's go ahead and put the _initDatabase method at the bottom of the DatabaseHelper class and then I'll explain what the imports do:
The dart:io import at the top provides support for Directory, path_provider provides support for getApplicationDocumentsDirectory and path.dart gives support for join.
So _initDatabase opens the database, which is groceries.db, version 1, and if it doesn't exist we can run the _onCreate method on creation of the database. So... we need the _onCreate method now. Put it below the _initDatabase method:
So as is probably self explanatory this will create the groceries table when the database is created.
Click here to see what the DatabaseHelper class looks like so far.
So now we are going to get the groceries from the database and display them inside a ListView. Let's put the getGroceries method inside the DatabaseHelper method:
Then inside main we need to ensure the Widgets Flutter Binding is initialized:
Now we are going to add a FutureBuilder into the body of the Scaffold:
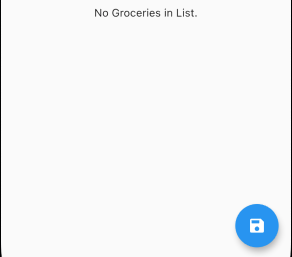 So if you were to run this right now it would just be blank, so we're going to add a Ternary Operator, or a simplified if/then statement, to show a message when there's no data to display:
And now if you run it you should see the screen on the right.
But we want to actually see Groceries in our list right? Let's go ahead and do our add functionality. We will start by adding the add method at the bottom of the DatabaseHelper class:
Now we will add the text in the TextField to the database when the FloatingActionButton is pressed:
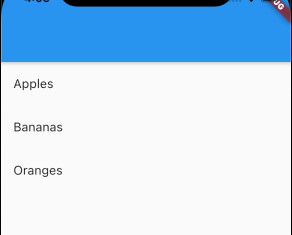
And as you see after I test with a few grocery items it is working correctly.
Now we will add the ability to remove a grocery item. We will do this on the onLongPress of the ListTile. First we will put the remove method at the bottom of the DatabaseHelper class:
And now we will add the longPress entry in the ListTile:
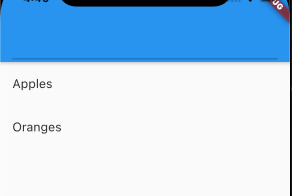
And testing it, we were successfully able to remove Bananas from the list.
OK normally I'd stop here but for some reason you guys like CRUD... haha! So, let's add an update feature to this. It's going to be really rough, just enough to show y'all the functionality, but I promise it'll get the point across. We will of course first add the method to the bottom of the DatabaseHelper class:
Now what we are going to do is, when you short press (or tap) on the ListTile, it's going to put the text in the TextField so you can edit it and save it. Let's put a variable at the top called selectedId So we know when an entry is selected:
We add the question mark to int (int?) because obviously this variable can be null if a grocery item isn't selected. Now we will add the onTap call to the ListTile:
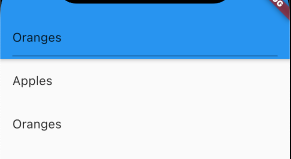
So short pressing (tapping) on Oranges puts Oranges in the TextField, but nothing else happens yet.
Let's put some code in the FloatingActionButton now:
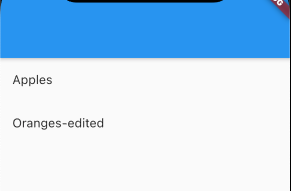 So we use another Ternary Operator here to determine if we need to update or add. If selectedId is not null, we will update the record that corresponds with the grocery id stores in selectedId. If it IS null, then we will add the record like normal.
Click on a record, change it, and hit the save button and you should see the edited results!
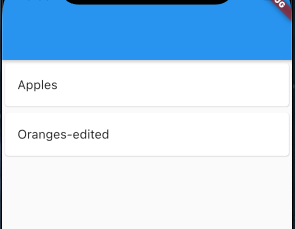 So that's all the functionality, but as some bonus stuff, we can make it a little cleaner and a little easier to understand what's going on. Let's start by adding a Card around the ListTile:
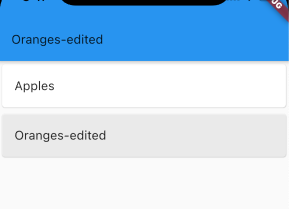 And then what we can do is add some coloring to where when a grocery item is selected, it's highlighted:
This will make the card white if it is not selected, and light gray if it is selected.
So what if you start to edit an item and then change your mind? Well you could just hit the save button and it'll just write over the old entry with the same item, or add a cancel button... but we are just going to make it to where if you tap on the item again it will deselect it. So in the onTap we can do this:
And it will now deselect the option when you decide you don't want to edit it. It's probably not the ideal method for doing it, but it gets the point done for this simple tutorial.
So that will do it for this tutorial. We could also do it by writing the grocery data to a list and just work with the list, would be fewer queries to the database but a few more lines of code. If you'd like to see this version, let me know in the comments of this video on YouTube!
Very long content goes here