

An introduction to Navigations and Routes in Flutter. Includes push, pop, named routes and a small example of Navigator 2.0.
In this tutorial we're going to discuss Flutter's built in Application navigation.
There are two navigation options that are built into Flutter. Flutter's original System, or 1.0, uses an imperative approach. And then Flutter's new Navigation System, or 2.0 which uses a declarative approach. Without getting too much into it, the declarative approach works more like the other flutter elements.
Now you might think That you should use 2.0 because it is the newest version. However 1.0 could be preferred for smaller apps and is still fully supported. So we're going to touch on both versions in this tutorial.
Let's start by setting up main and our first Stateless Widget:
Now let's set up a stateless widget for our first screen:

Of course nothing happens when you press the button at the moment.
Now let's just copy FirstScreen and change all the Firsts to Seconds:
Ok so all the widgets for Screens should be set up now. Time to wire up the buttons to navigate between the sites. We will put this code in the FirstScreen widget:
So when we press the ElevatedButton on the first screen, it will now push the Route from FirstScreen to SecondScreen. And then you can press the back button in the AppBar to return.
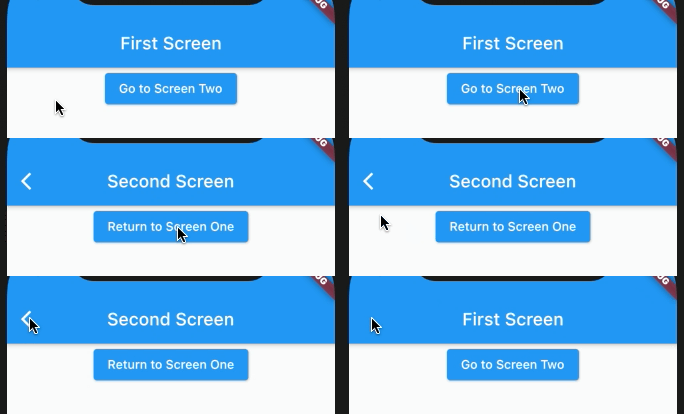
Now we can wire up the button on the SecondScreen to pop back to the first screen like this:
And while we're add it we'll go ahead and disable the button in the AppBar since we don't need it anymore:
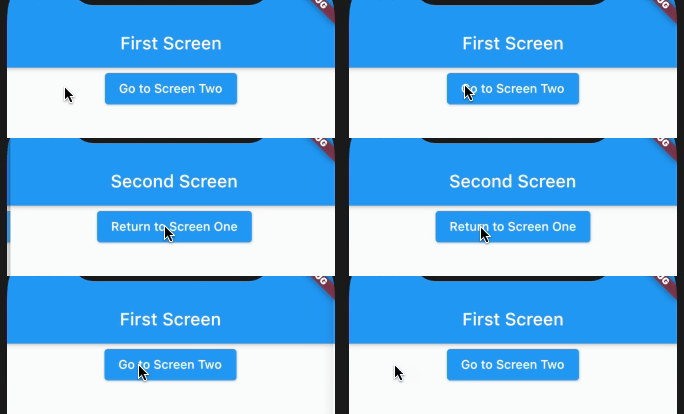
So that's the absolute simplest way we can navigate between screens. But if you were to use this in a larger project where you need to route to the same screen in multiple locations this may result in duplicate code. So in those cases you can use Named Routes. Let's modify our existing code to use Named Routes instead.
The first thing we will do is make some modifications inside the MaterialApp widget:
And then we will modify the code inside the ElevatedButton on the first screen:
Restart, and if everything worked correctly, the app should still move back and forth between the first screen and the second screen without issues.
So now let's take a look at version 2.0 of Flutter's navigation system. We are just going to convert our existing code to work using the 2.0 version for now.
So we can do this a handful of ways. Let's start by converting NavApp from a Stateless Widget to a Stateful Widget:

And then we are going to replace the inside of MaterialApp with a Navigator:
Restart the app and you should still see the first screen, the button to go to the second screen just won't work quite yet.
So now we need to make it to where we can access the second screen. Let's create a variable at the top of _NavAppState:
Then let's create a function at the top of _NavAppState as well that will help us set if this is the first screen or not:
Since we only have two screens in this tutorial, we only need to know, is this the first screen? (isFirstScreen = true) or is this the second screen? (isFirstScreen = false). This would obviously not be practical in a real world scenario, this is just a very simple version for you to compare to version 1.0.
We need to now tell it to call the second screen if isFirstScreen is set to false:
You'll notice we don't have a condition around the line that's calling FirstScreen. The reason is because we want FirstScreen to load either way, so the back button will work to get back to the first screen.
Let's pass the setFirstScreen function down into the FirstScreen widget now. First we will modify the widget itself. We will add this to the top of FirstScreen:
And then we will clear out the onPressed in the ElevatedButton and add this:
So when you press the ElevatedButton to go to screen two, it's going to set isFirstScreen to false. Then when it rebuilds the app, isFirstScreen will be set to false, and it will first load the FirstScreen, and then it will load the SecondScreen, making the SecondScreen the one being displayed. But because it loaded the FirstScreen first, the first screen will be loaded in the background so when you press the back button on the SecondScreen it has somewhere to go.
Now we just need to pass the setFirstScreen function down to the FirstScreen widget in the Navigator like so:
restart the app, and you should be able to now make it to the second page... but you can't make it back to the first page just yet.
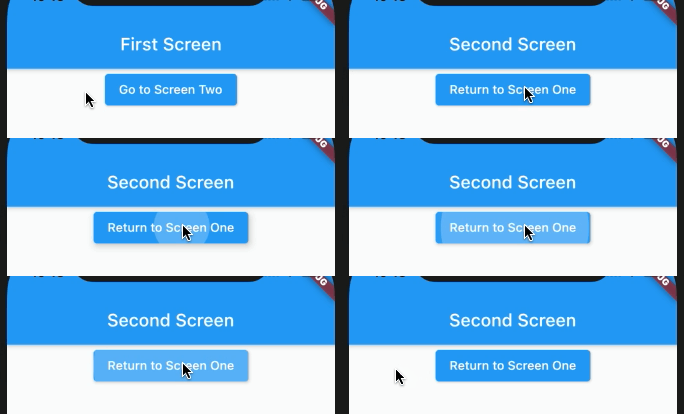
There *is* a very simple way you can get back to the first page from here. In the SecondScreen widget, remove this line of code:
And then we need to add this code to the Navigator:
And it will add the back button back from which you can get back to the first screen:
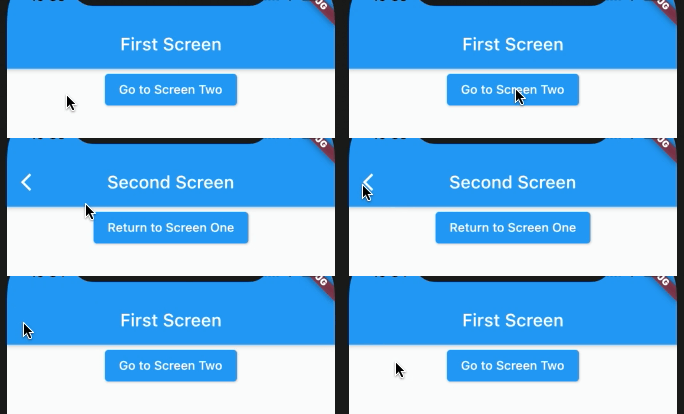
And actually our button on the second screen works as well. But let's refactor it to work with the isFirstScreen variable.
So wiring up the SecondScreen button will be very similar to what we did in the FirstScreen widget.
Add this to the top of the SecondScreen widget:
Add this to the ElevatedButton's onPressed:
And then finally we need to ty the function to the SecondScreen call in the navigator:
Restart the app and everything should now work the way it is supposed to...

almost. You'll notice when I press the button on the second screen and hot reload, it is where it's supposed to be. But if I hit the *back button* and hot reload, it goes back to the second screen. So we need to also set the setFirstScreen variable to true when we press the back button.
so in the onPopPage in the Navigator we will add this code:
Now the back button should work the way it's supposed to:

So that wraps up the introduction to Navigation in Flutter. You can see why 1.0 is still available and should be simpler to use for smaller apps, but hopefully you can also see where 2.0 could be pretty powerful. In an upcoming tutorial we will dive more into Flutter 2.0 and see where we can take advantage of more of its features so stay tuned!
Very long content goes here