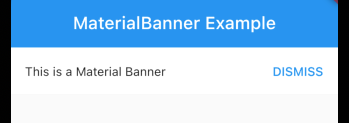
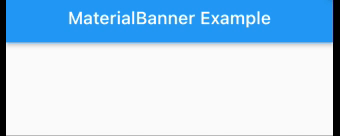
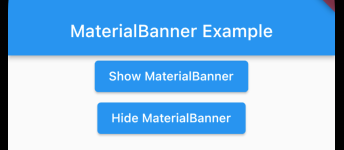
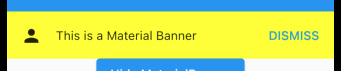
An example of MaterialBanner, new to Flutter in version 2.5. Similar to the SnackBar, the MaterialBanner shows a message but instead of at the bottom like the SnackBar, it's at the top. Learn how to display and hide MaterialBanners.
New in Flutter 2.5 we now have MaterialBanner. MaterialBanner is somewhat similar to the SnackBar, but it shows at the top instead of at the bottom.
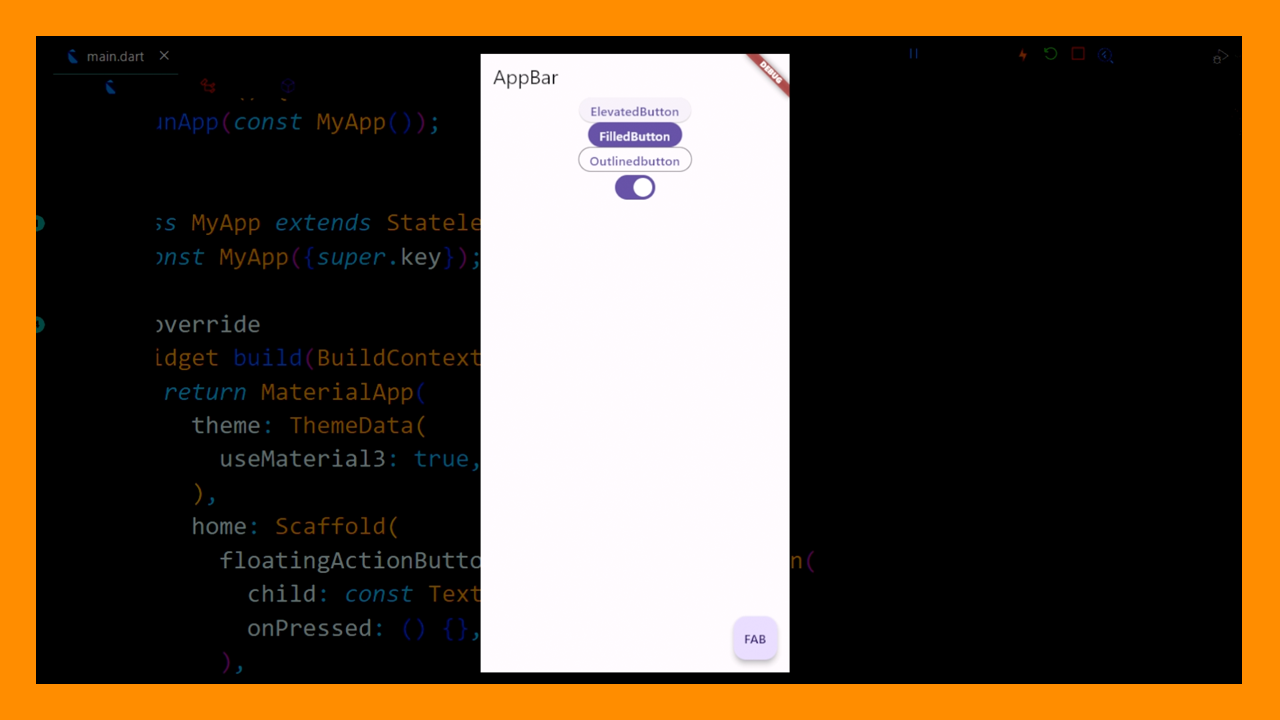
We will start by building our tutorial boilerplate. It's just going to be a call to a stateless widget that has a MaterialApp, Scaffold and AppBar for now.

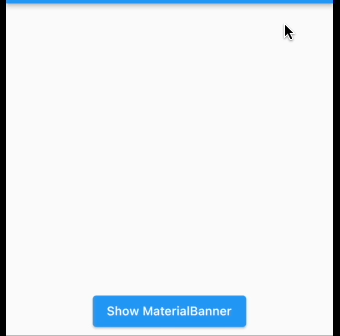
Now we will add a simple ElevatedButton in the body so we can activate the MaterialBanner. We'll go ahead and center it as well.
That's just going to show a simple button in the middle of the page.
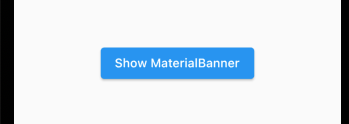
Now we will show a MaterialBanner when the button is pressed. In the onPressed for the ElevatedButton we are going to add this:
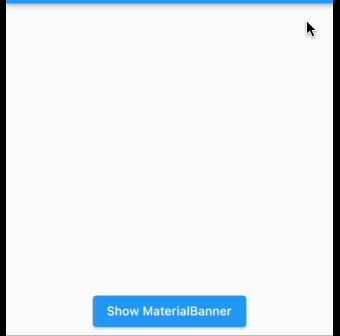
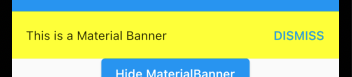
This is the simplest we can make the Material Banner. So we will run this, press our button and you should see the MaterialBanner at the top.
Before we do anything cosmetic to it, let's go ahead and add the code to close the MaterialBanner. Inside the TextButton's onPressed we are going to add this:
And after a restart you should be able to dismiss your banner.
But if you push the button twice, you'll notice you actually have two banners available...
So we can fix that pretty easily by just removing any current banner showing before we show a banner like this:
You'll notice that there are two periods before removeCurrentMaterialBanner and before showMaterialBanner. Adding that though will fix our problem with having duplicate banners:
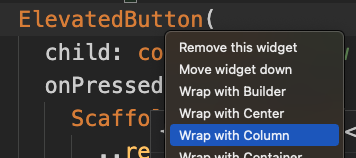
You can also close it from another button, you don't have to just use the dismiss button. We will wrap the ElevatedButton in a column:
You can do this a few ways, you can just cut the ElevatedButton, add the Column and paste the ElevatedButton back in. Or you can right-mouse click, click on refactor and then click on click "wrap with column".
And then we will add a second ElevatedButton for hiding the MaterialBanner below that button:
Now just simply put the same code in the onPressed that you have in the dismiss button and it should work correctly:

The problem with the way we currently have it though is that the MaterialApp is built into the ElevatedButton. This could pose problems if you're wanting to call it from other places in your app. We can handle that a few ways.
The first way is moving it outside of the ElevatedButton and assigning it to a variable. So we will cut everything highlighted in red:
And then we are going to paste it below the build Widget and set it to a variable:
Now inside the ElevatedButton we just call the variable:
And you'll see that it still works.
But you can actually separate it all together. So we're going to cut everything red again:
And then at the bottom of the page we'll add this:
You'll notice we removed the variable instantiation and are just returning it instead.
Now we just need to add context to the materialBanner call:
And after a restart you'll see everything still works as expected.
So now let's get into some of the properties we can change with MaterialBanner. We can change the background color:
Add a leading icon:
Add a second button:
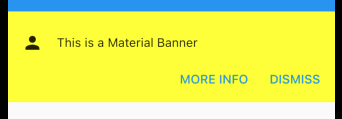
And a few other things you can see on their official page.
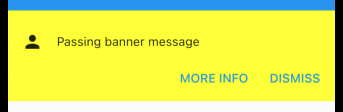
One last thing you might want to know is how to pass a message through to it. We will first update the variables the function receives:
And then set that variable in content like so (you'll notice "const" has been removed):
And then pass the message down on the call to show it:
It's pretty simple.
Click here for the full source.
Very long content goes here