VIDEO
VIDEO
YouTube Description:
The basics of Flutter ListView. Includes an example of using the ListView with simple widgets, as well as connecting a list to the ListView with ListView Builder. With the ListView Builder I show how to display the list, add entries to the list, and remove entries from the list. Also includes examples of ListView Separator, and ListTile's Leading and Trailing.
Start with the typical boilerplate:
import 'package:flutter/material.dart';
void main() => runApp(ListViewApp());
class ListViewApp extends StatelessWidget {
const ListViewApp({Key? key}) : super(key: key);
@override
Widget build(BuildContext context) {
return MaterialApp(
home: Scaffold(
appBar: AppBar(
title: Text("ListView Example"),
),
),
);
}
}
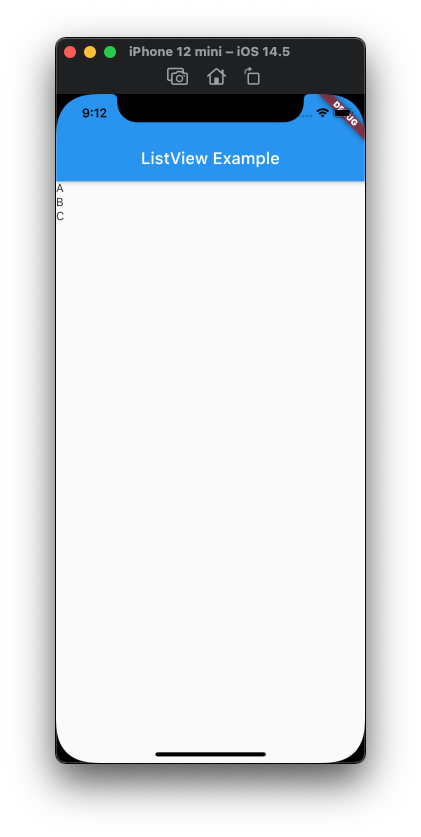
Now the Simplest ListView we could add:
home: Scaffold(
appBar: AppBar(
title: Text("ListView Example"),
),
body: ListView(
children: [
Text('A'),
Text('B'),
Text('C'),
],
), //ListView
), //Scaffold
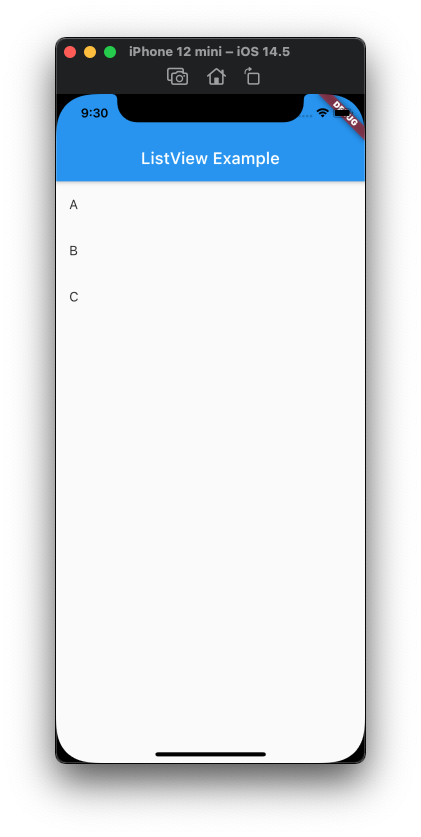
we dress it up a little bit
body: ListView(
children: [
ListTile(
title: Text('A'),
), // ListTile
ListTile(
title: Text('B'),
), // ListTile
ListTile(
title: Text('C'),
), // ListTile
],
), // ListView
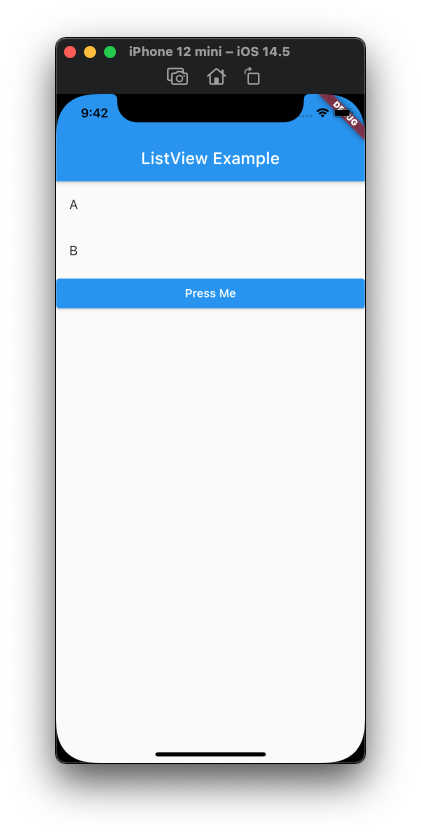
And it doesn't have to just be ListTiles:
children: [
ListTile(
title: Text('A'),
),
ListTile(
title: Text('B'),
),
ElevatedButton(
child: Text('Press Me'),
onPressed: () {},
),
],
So that's the simplest way you can use a ListView, but you can also use it with a List. We'll start by creating a sample List.
class ListViewApp extends StatelessWidget {
final List<String> entries = ['A', 'B', 'C'];
@override
And then we will convert our ListView into a ListView.builder :
body: ListView.builder(
itemCount: entries.length,
itemBuilder: (context, index) {
return ListTile(
title: Text('${entries[index]}'),
); // ListTile
},
), // ListView.builder
Now it still looks the same but it's pulling it from a List.
So let's say we were building a grocery list app. The app would allow you to enter in items you need from the store and then delete them if you either don't need them anymore, or have already purchased them. We will start by clearing out the List because we don't want to start with any groceries:
class ListViewApp extends StatelessWidget {
final List<String> entries = [] ;
@override
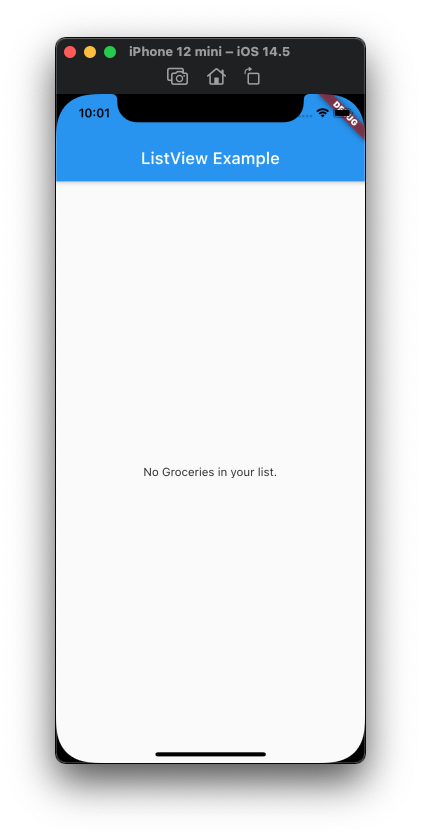
And then we will add a condition around the ListView.builder that if there are no records in the entries list to show a message stating so:
body: entries.length > 0
? ListView.builder(
itemCount: entries.length,
itemBuilder: (context, index) {
return ListTile(
title: Text('${entries[index]}'),
);
},
)
: Center(
child: Text('No Groceries in your list.'),
),
And now you should see the message in the example to the right.
Now we need a way to add our groceries to the list. We can start by going ahead and converting our StatelessWidget to a StatefulWidget :
class ListViewApp extends StatefulWidget {
@override
_ListViewAppState createState() => _ListViewAppState();
}
class _ListViewAppState extends State<ListViewApp> {
final List<String> entries = [];
And then we will add a text field into our AppBar:
appBar: AppBar(
title: TextField() ,
),
And then add a floatingActionButton:
child: Text('No Groceries in your list.'),
), // Center
floatingActionButton: FloatingActionButton(
child: Icon(Icons.save),
onPressed: () {},
), // FloatingActionButton
), //Scaffold
So now we will hook up a controller to the TextField so we can access it through the FloatingActionButton
class _ListViewAppState extends State<ListViewApp> {
final List<String> entries = [];
final textController = TextEditingController();
@override
Widget build(BuildContext context) {
Tie it to the TextField :
appBar: AppBar(
title: TextField(
controller: textController,
), // TextField
), //AppBar
And then add the setState to the FloatingActionButton that adds the text from the TextField to the entries list:
floatingActionButton: FloatingActionButton(
child: Icon(Icons.save),
onPressed: () {
setState(() {
entries.add(textController.text);
});
},
),
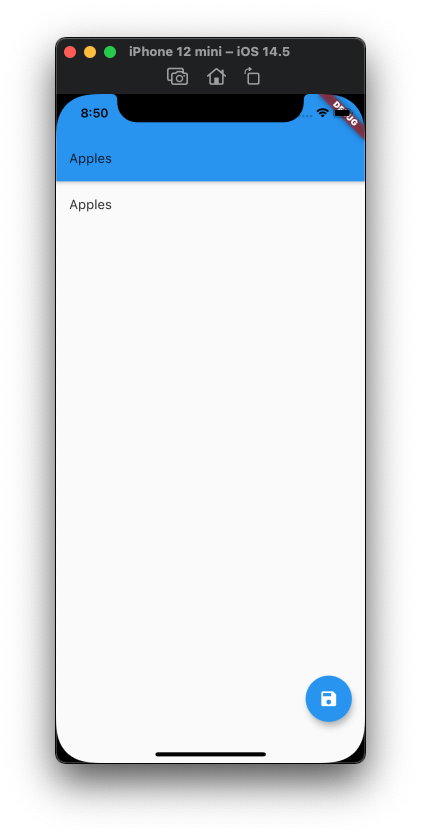
Now if you enter, say, Apples into the text box in the AppBar and press the save button, you should see an entry in the ListView !
You'll notice though that when you type something into the text box and hit the save button, it doesn't go away. We can fix that easily by adding a clear below the add:
onPressed: () {
setState(() {
entries.add(textController.text);
textController.clear();
});
},
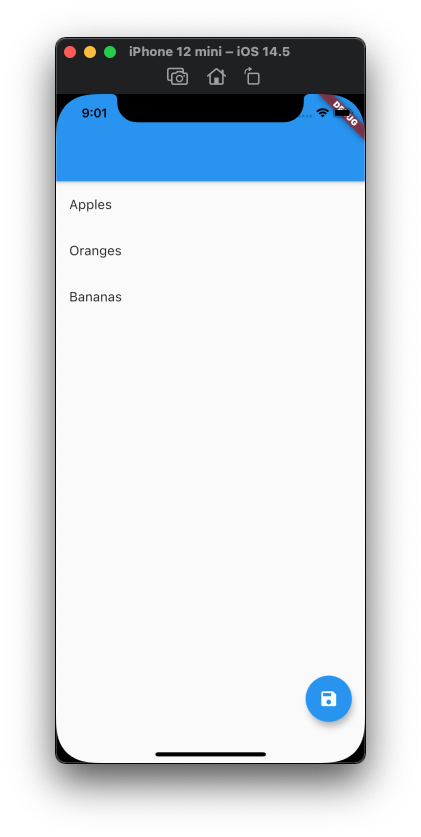
Now if you add a few more grocery items to your list, it will clear out when you press the save button.
You may have noticed though that they're not in alphabetical order. That's easy to fix as well, we just need to sort the entries above at the top of the build widget like so:
Widget build(BuildContext context) {
entries.sort();
return MaterialApp(
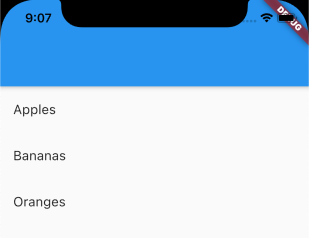
And now they will be in the correct order.
So now we need a way to delete the entries from the ListView. we're going to do that by using the onLongPress in the ListTile .
return ListTile(
title: Text('${entries[index]}'),
onLongPress: () {
setState(() {
entries.removeAt(index);
});
},
); // ListTile
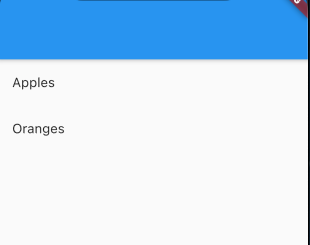
hold your finger or cursor down on one of the grocery items for a few seconds and it should disappear now.
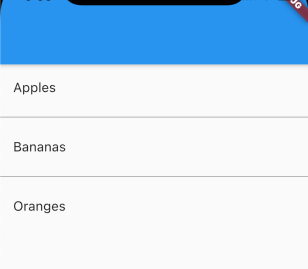
You can also add a divider in between the entries by using ListView.separated :
? ListView.separated (
itemCount: entries.length,
itemBuilder: (context, index) {
return ListTile(
title: Text('${entries[index]}'),
onLongPress: () {
setState(() {
entries.removeAt(index);
});
},
);
},
separatorBuilder: (BuildContext context, int index) =>
const Divider(),
)
maybe make it a little darker so it's easier to see
const Divider(
color: Colors.black,
),
And we can add a grocery icon to the beginning of the entries:
return ListTile(
leading: Icon(Icons.local_grocery_store),
title: Text('${entries[index]}'),
You can also use trailing to put one at the end.
So this gives you the basics of a ListView, but it has one major flaw...
If you close the app... it all disappears.
How do we fix that? Well, we will talk about that... in a future video!
Full Source
import 'package:flutter/material.dart';
void main() => runApp(ListViewApp());
class ListViewApp extends StatefulWidget {
@override
_ListViewAppState createState() => _ListViewAppState();
}
class _ListViewAppState extends State<ListViewApp> {
final List<String> entries = [];
final textController = TextEditingController();
@override
Widget build(BuildContext context) {
entries.sort();
return MaterialApp(
home: Scaffold(
appBar: AppBar(
title: TextField(
controller: textController,
),
),
body: entries.length > 0
? ListView.separated(
itemCount: entries.length,
itemBuilder: (context, index) {
return ListTile(
leading: Icon(Icons.local_grocery_store),
title: Text('${entries[index]}'),
onLongPress: () {
setState(() {
entries.removeAt(index);
});
},
);
},
separatorBuilder: (BuildContext context, int index) =>
const Divider(
color: Colors.black,
),
)
: Center(
child: Text('No Groceries in your list.'),
),
floatingActionButton: FloatingActionButton(
child: Icon(Icons.save),
onPressed: () {
setState(() {
entries.add(textController.text);
textController.clear();
});
},
),
),
);
}
}